*FYI - this post may contain affiliate links, which means we earn a commission at no extra cost to you if you purchase from them. Also, as an Amazon Associate I earn from qualifying purchases. Check out our Privacy Policy and Disclosure. for more info.
Candy and Chocolate topiaries are a simple, but beautiful gift idea if you’re looking for unique ways to gift sweets.
While perfect for a variety of occasions, this idea is especially ideal for the holidays.
After all, there’s plenty of festive flair to this easy DIY project, which comes studded with colorful, shiny candies, and a big beautiful bow to wrap it all up.
The best part? This DIY Candy Topiary can be customized with whatever candies you want, and it’s a pretty affordable project too!
In this Chocolate Topiary tutorial, we’ll be showing you step by step how to make this ultra easy gift, which we’re sure will delight all the sweet tooths on your list this year.
We hope you find it helpful!
Pin for later:

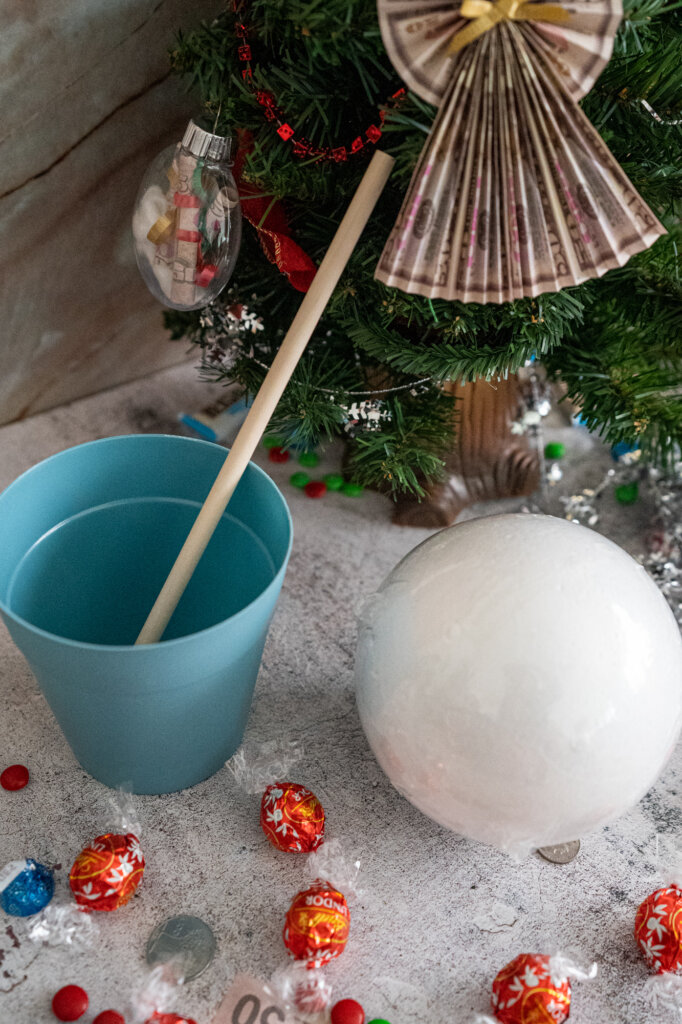
Materials for Your Chocolate Topiary
For this sweet and easy DIY gift, all you need is:
- 1 styrofoam ball
- 1 styrofoam or floral foam block
- 1 flower pot (ideally larger than the ball)
- 1 wooden dowel
- Double sided tape (or hot glue)*
- Individually wrapped chocolates/candies of your choice (we used a mix of Lindt chocolate balls, Werther’s Originals and Kisses)
- Pebbles/rocks (to weigh down your flower pot and make it stable)
- Thick ribbon or bow (for decoration)
The exact amount of candy you will need depends of course on the size of styrofoam ball and pot that you end up choosing.
For ours, we used a 5″ styrofoam ball and ended up using 2 boxes of Lindor Chocolate Truffles, 2 bags of Werther’s Original, and 2 small bags each of regular Holiday Kisses, Cookies and Creme Kisses, and Peppermint Kisses. (This bulk box might be a good choice).
Annoyingly, if the ball was a bit smaller, we could have gotten away with only one box/bag of each, but we did need the little bit extra to fill in gaps.
Ultimately, we did have quite a bit of candy left over, but we put it to good use!
Overall, we would say this project uses up a surprising amount of candy, so better to buy more and have extra than too little. Just like us, we’re sure you’ll find uses for the leftovers!
It’s also important that you find a flower pot that’s larger than your styrofoam ball. We had limited choices at our Dollar Store, so we ended up with a pot around the same size as our ball, which caused some balance/stability issues, so getting a larger pot is ideal.
*NOTE: We decided to use this strong double sided tape for our chocolate topiary because it’s much easier to get the candies off for consumption.
This should be fine if you’re not transporting the topiary very far, but if you plan to transport it or want to ensure that the candies are stuck on very well, then we would recommend using hot glue instead.
The tradeoff is the candies will be harder to rip off, but the end result will be a lot more secure.
How to Make a Candy and Chocolate Topiary: Step by Step
Have all your materials gathered? Now let’s get to work…
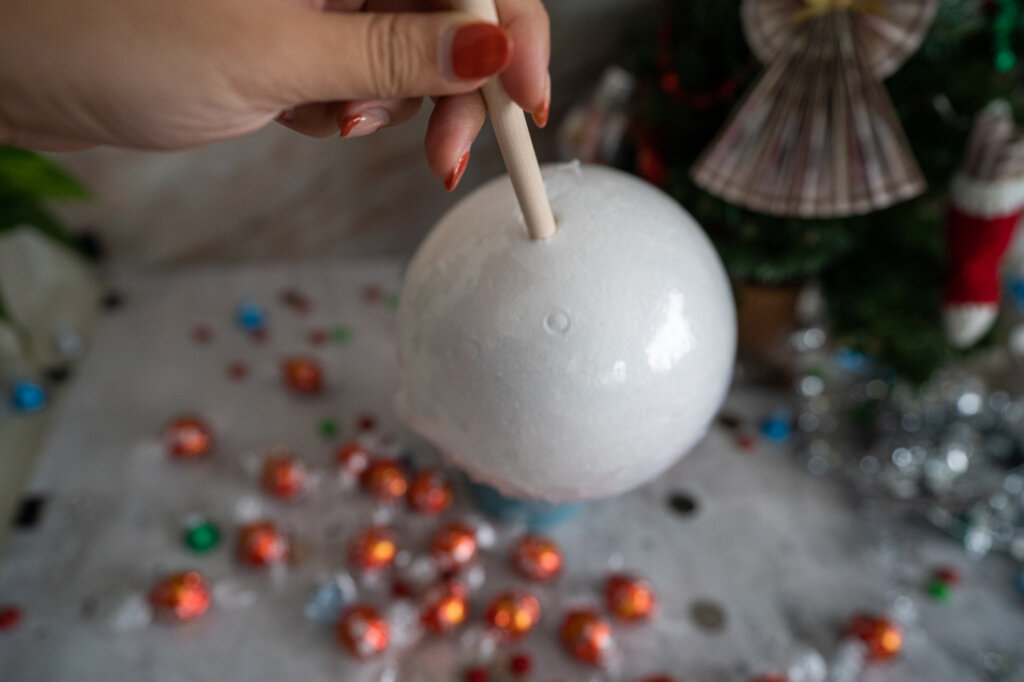
Step One: Insert Your Wooden Dowel
To start, we’re going to get the dowel into our sytrofoam ball.
IMPORTANT: If you are using the double stick tape method for this project, then keep the plastic packaging ON the sytrofoam ball. Tape sticks onto plastic far better than onto styrofoam, so make sure you don’t remove the plastic wrap around the ball.
Using some scissors, cut a small hole in the packaging that corresponds roughly to the width of your wooden dowel. This will be the entry point for the dowel.
Before you press the dowel into your styrofoam ball, you might need to use a pen or some scissors to puncture a small hole into the ball first before getting that dowel in there.
When inserting the dowel, make sure you stop about halfway through the ball, taking care not to press it through all the way to the other end. Your finished product should look like this:
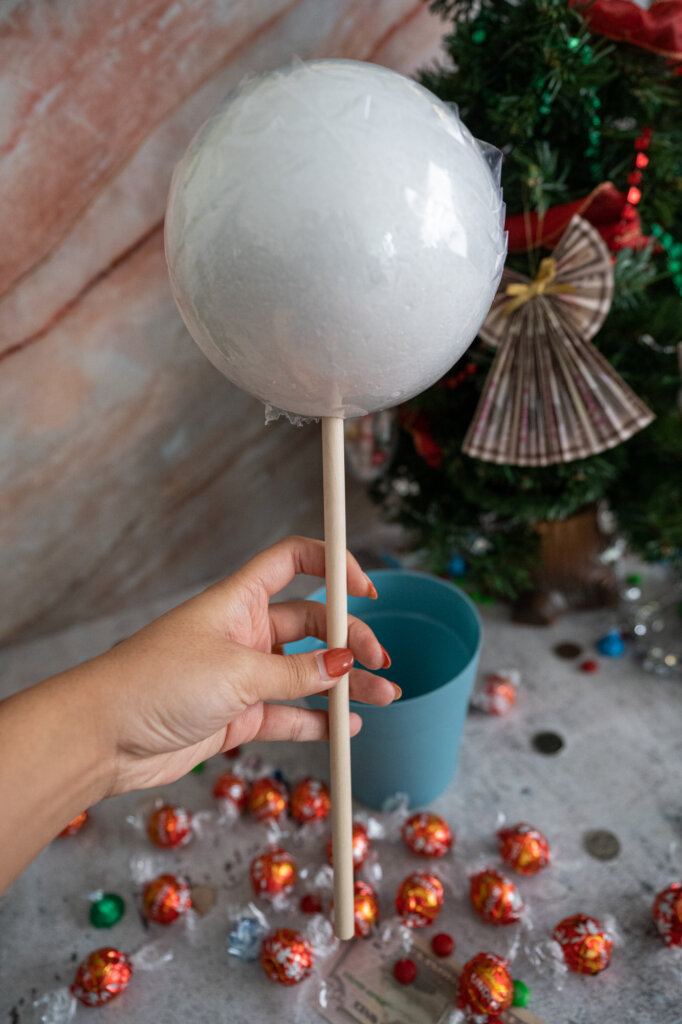
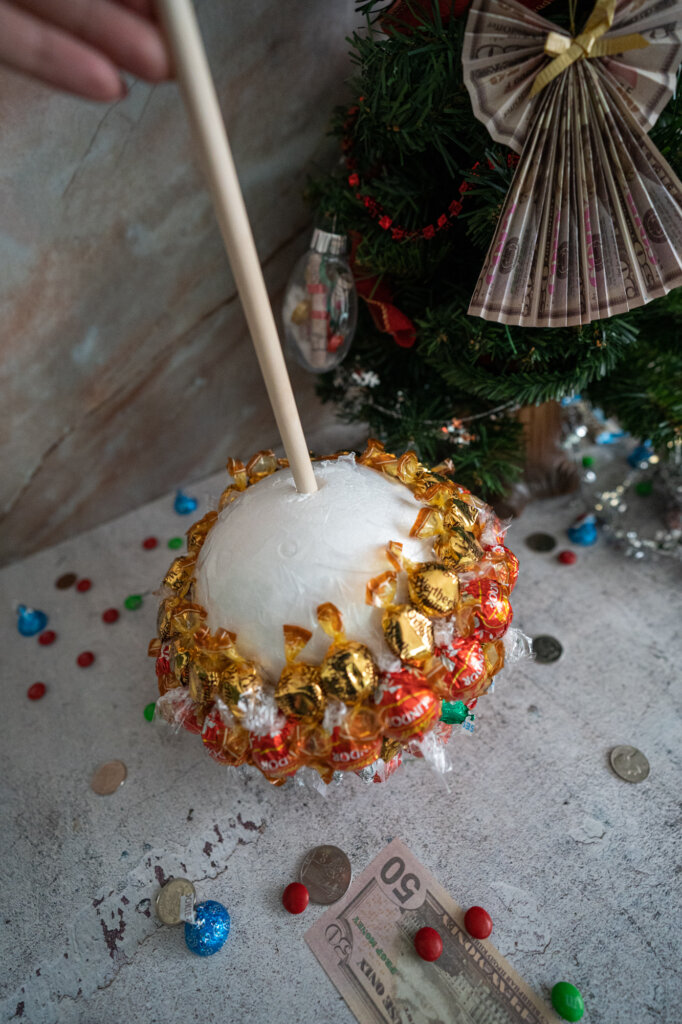
Step Two: Cover your base with tape
If you are planning to use the hot glue method, then you can skip this step.
BUT if you are planning on using double sided tape, then this is a super fun step! Simply wrap double sided tape around the entire sphere, making sure you cover the whole thing and leave no gaps.
It ends up looking like a cute oversized lollipop:
Step Three: Add Your Candies and Chocolates
Now this is the part where you get creative. If you’re using the double sided tape method, all you need to do is place your candies where you want and press them down firmly (taking care not to squash your chocolates).
If you are using hot glue, then simply add a small dab of hot glue onto your candy and press it onto wherever you want on the sphere. It’s important that you don’t add too much glue because doing so will make it really difficult to remove the candies for consumption later.
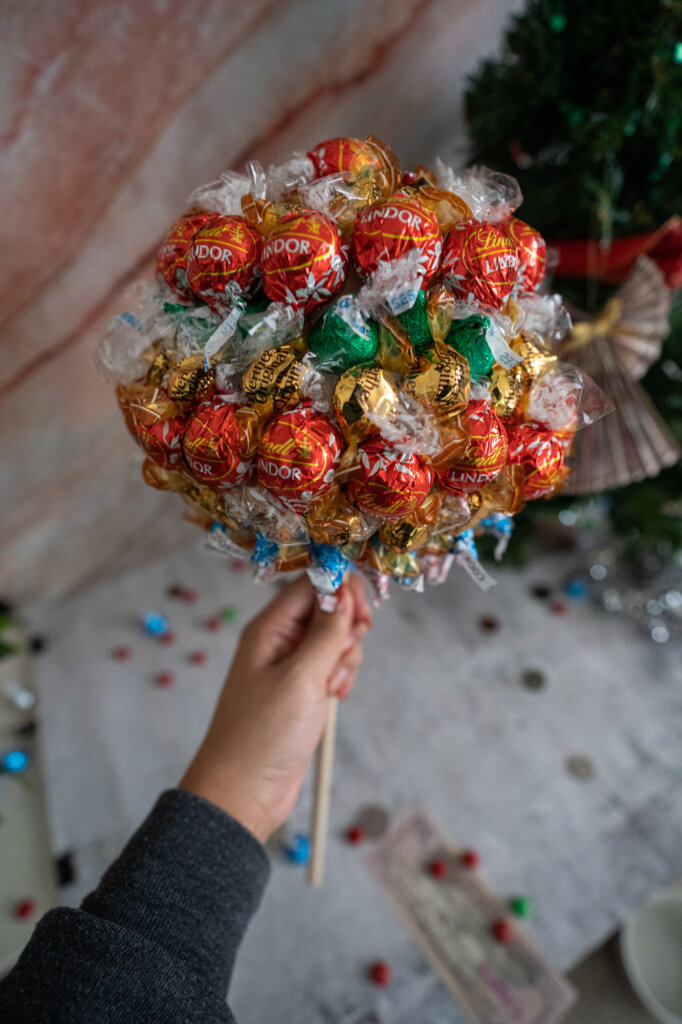
You can add candies to your topiary in whatever pattern you want, but we decided to go for rows of each chocolate to give the topiary a more uniform look.
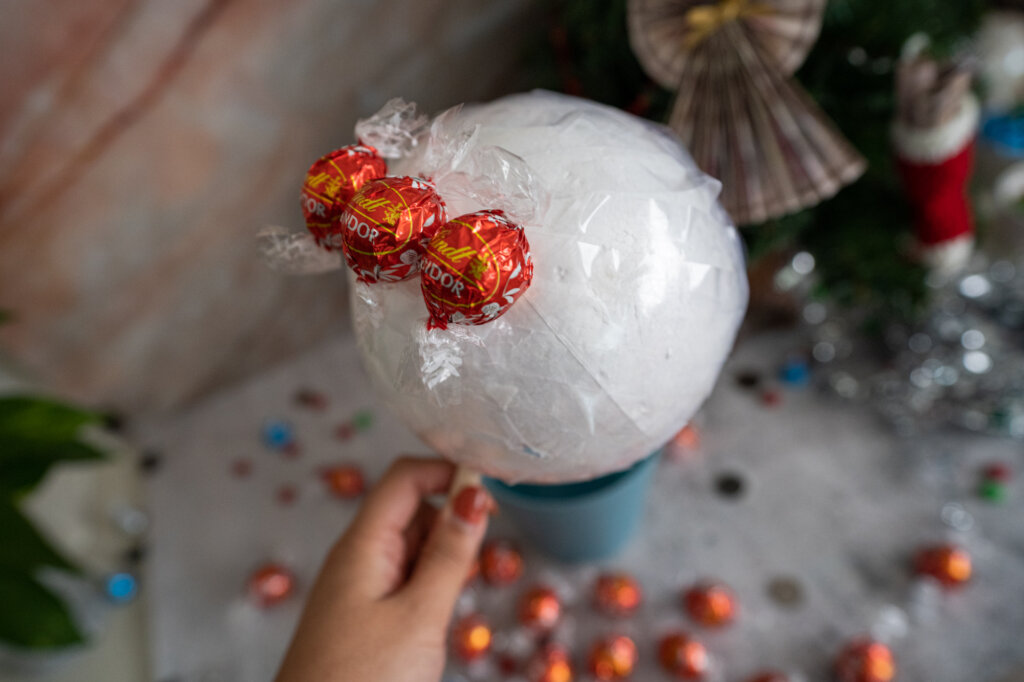
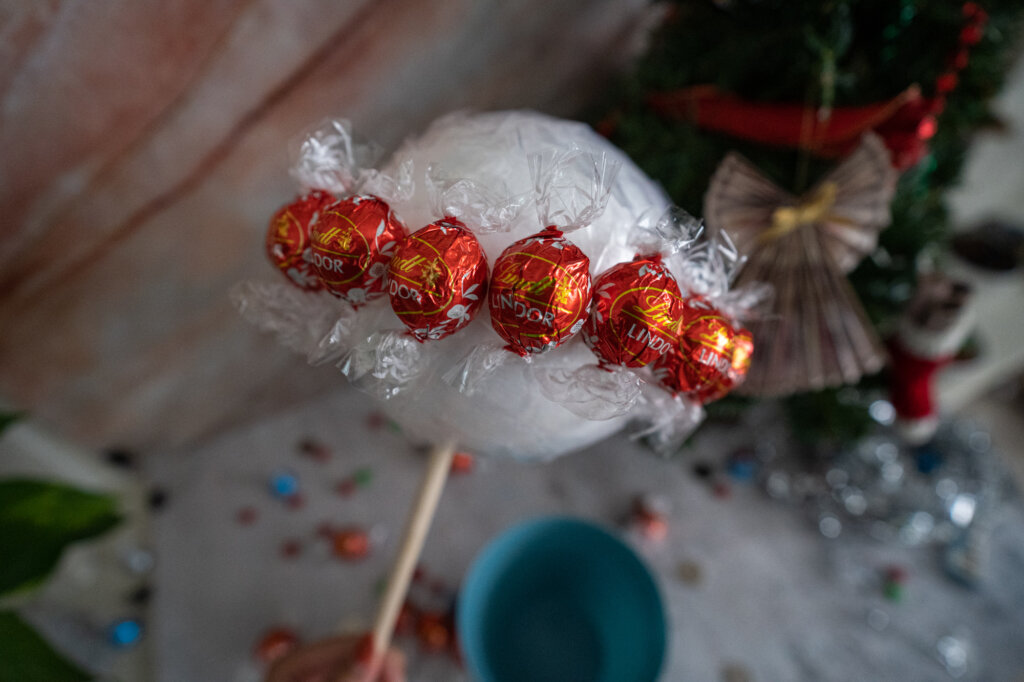
We started with a row of Lindt chocolate truffles:
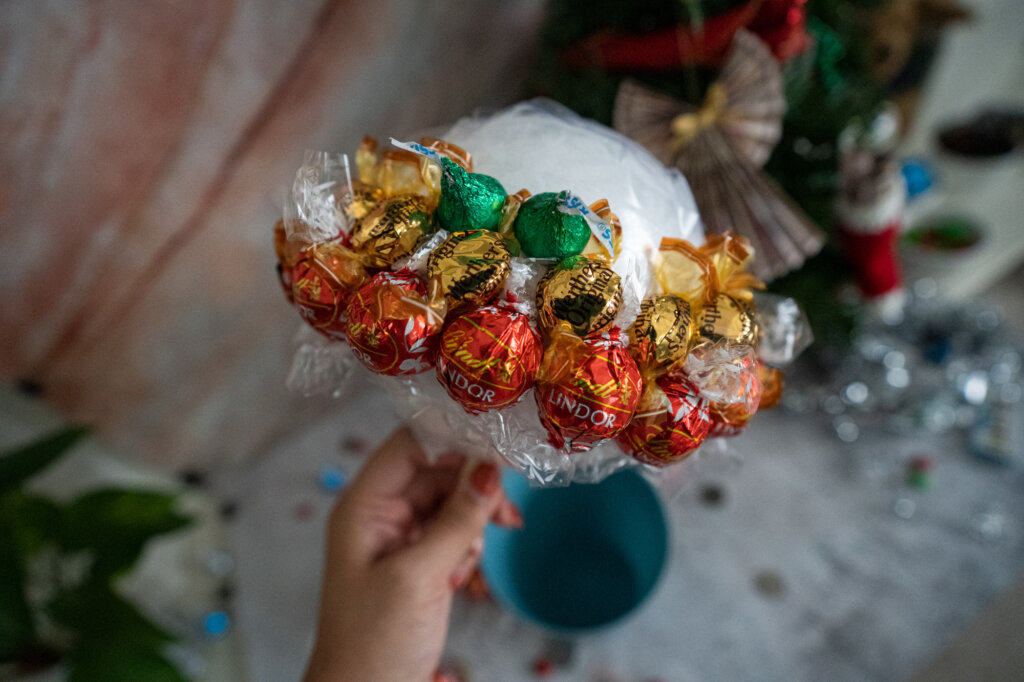
Then moved onto a row of Werther’s, and then green holiday Kisses:
Keep adding candies, pressing down as you go to ensure they stick on well. Depending on the quality of your double sided tape, you might notice candies starting to fall off. If this is the case, you might be better off trying hot glue or perhaps even Sticky Tac.
We used this double sided tape though and everything stayed on fine.
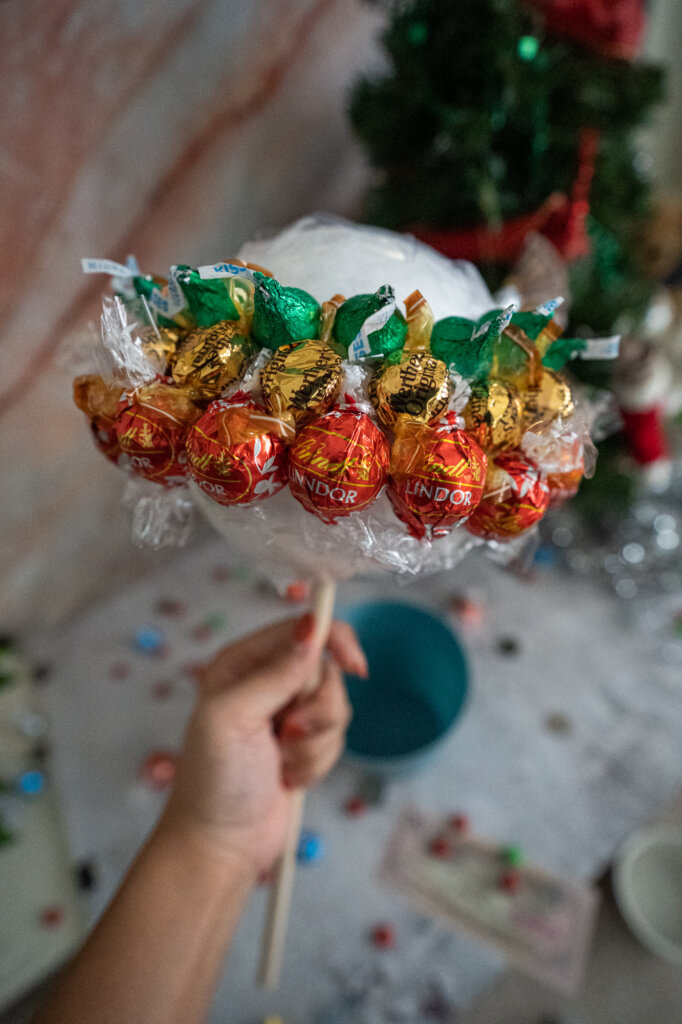
If you keep repeating this process with more rows and candy, eventually it will start to look like this:
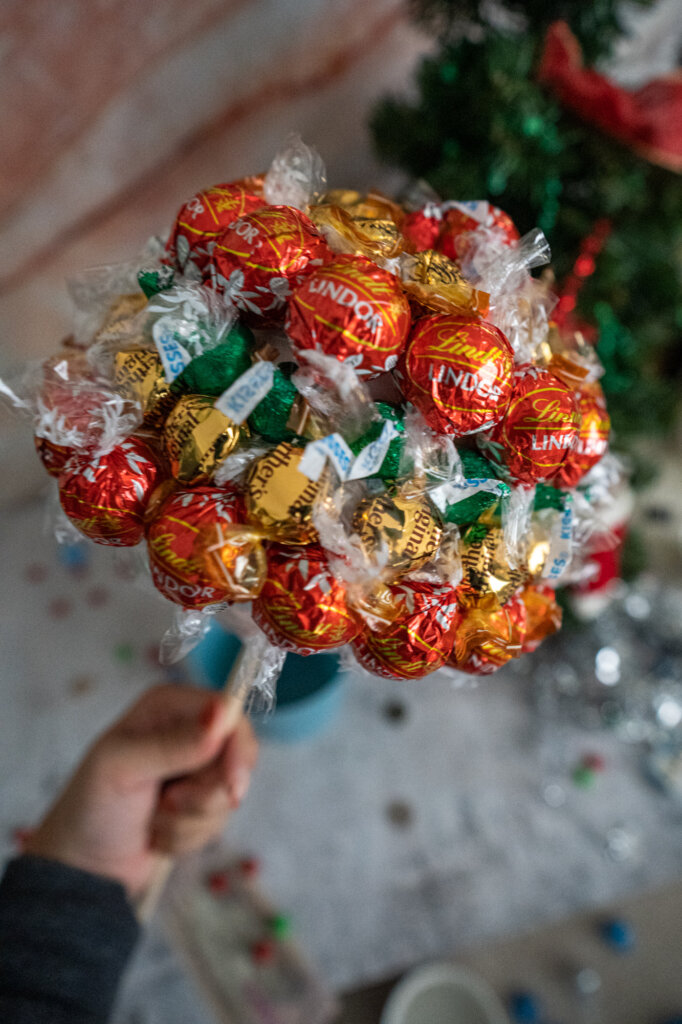
And don’t forget to do the bottom! Feel free to invert the dowel/ball like so to make adding your final candies/chocolates easier:
In the end, you should have something that looks like this:
Step Four: Set Up Your Base
Get that pot, rocks, pebbles, and foam ready! Because your candy-studded ball is likely quite heavy, it’s important to create a stable base so your creation doesn’t randomly fall over.
To do this, we need to A) make sure the pot is large enough to create some stability and B) make sure the pot is heavy enough to balance out the weight.
So for that, we used rocks!
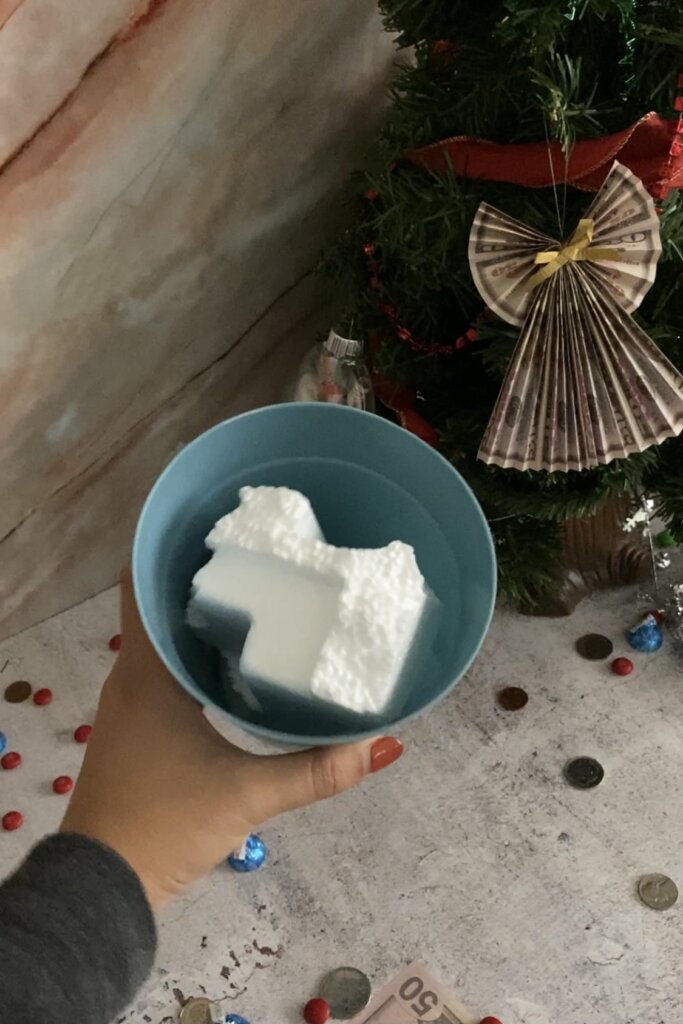
Originally, we put styrofoam in the pot and added some rocks around this bit of foam for stabilization.
While this worked fine, we think it would have been even sturdier if we added a base layer of rocks in the pot before adding the foam, so feel free to try that for additional stability.
So, insert your styrofoam/floral foam, then insert your dowel, taking care to ensure that it is straight.
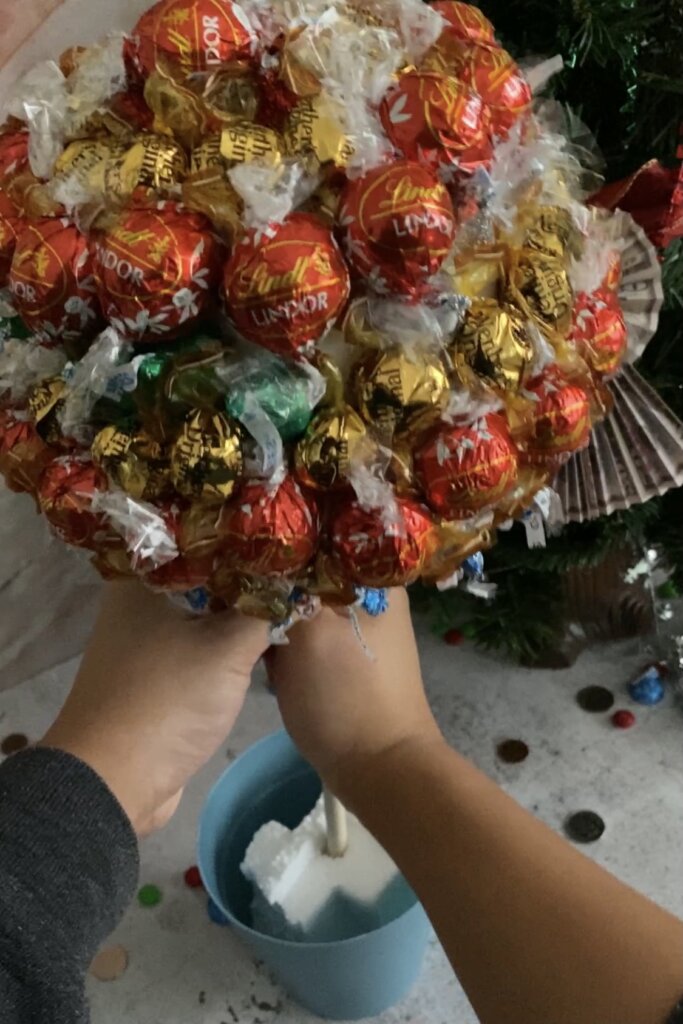
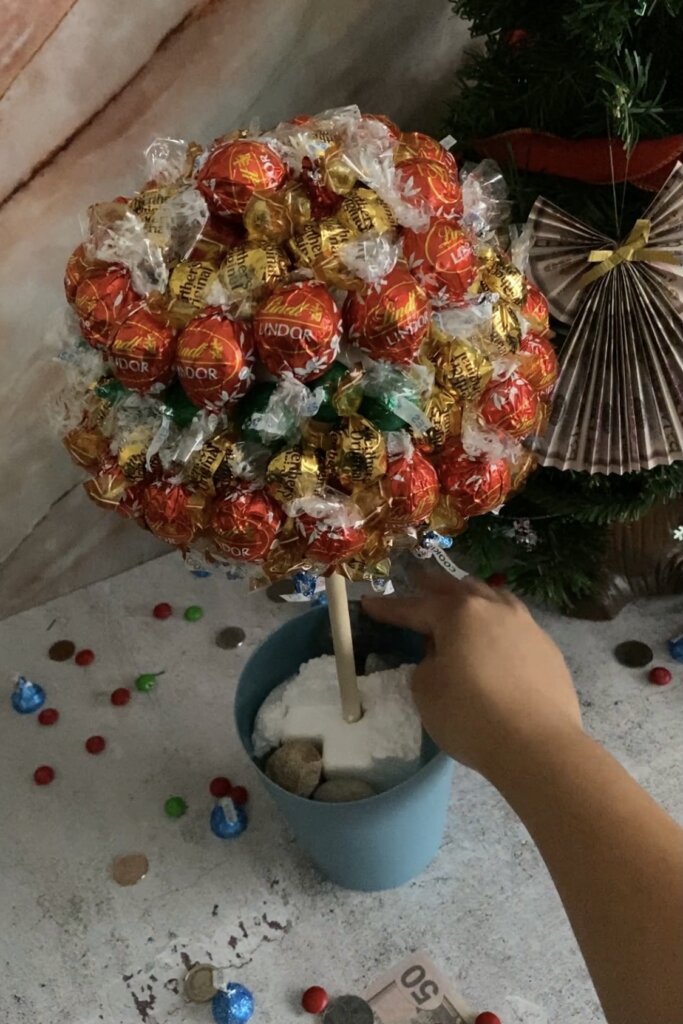
If your creation is feeling wobbly, don’t worry! That’s what the rocks are for. Start adding your rocks and you should feel it all begin to stabilize.
Again, try your best to find a pot that’s larger than your styrofoam ball. While the rocks helped stabilize our creation, the fact that the pot was on the smaller side meant it was always a bit wobbly.
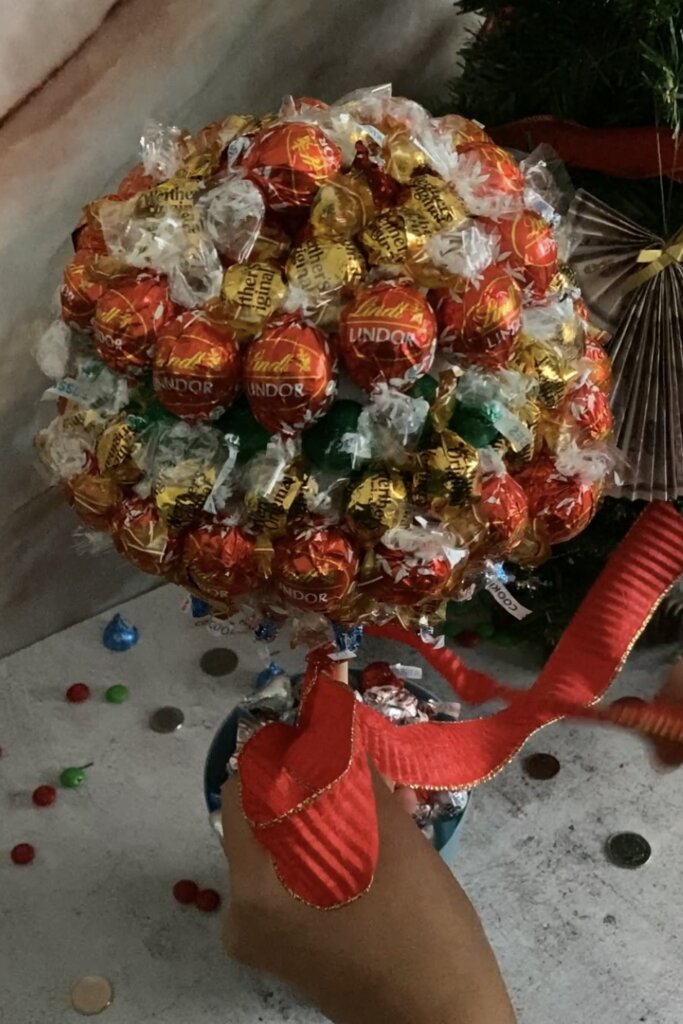
Once you’ve added all your rocks/pebbles, top off your base with leftover candies to make it pretty.
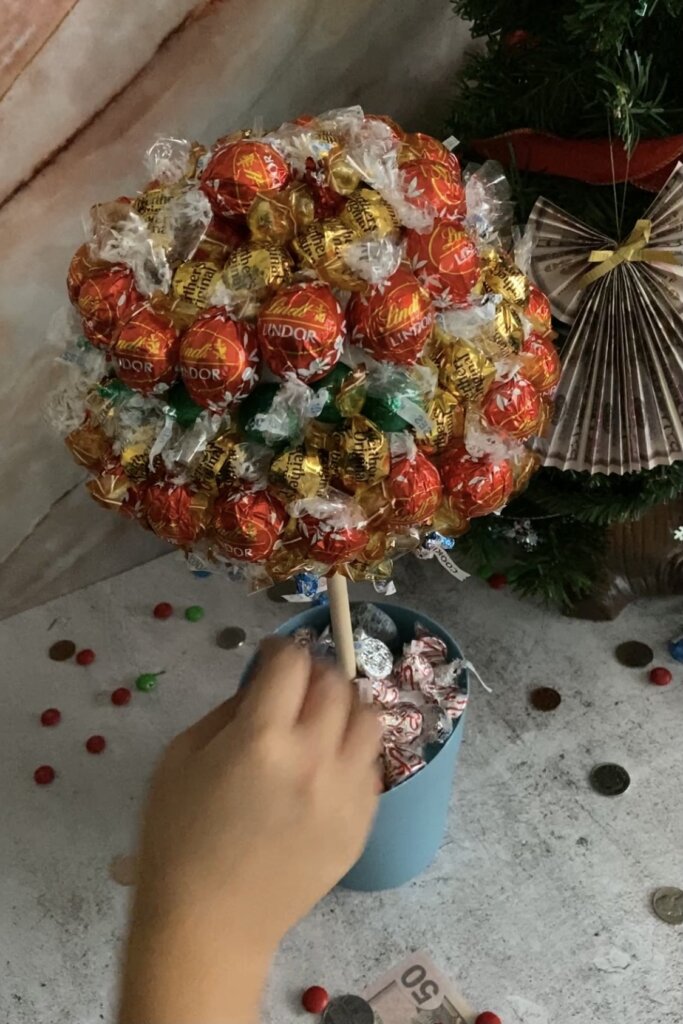
And it should look like this:
Step Five: Add Your Finishing Touches
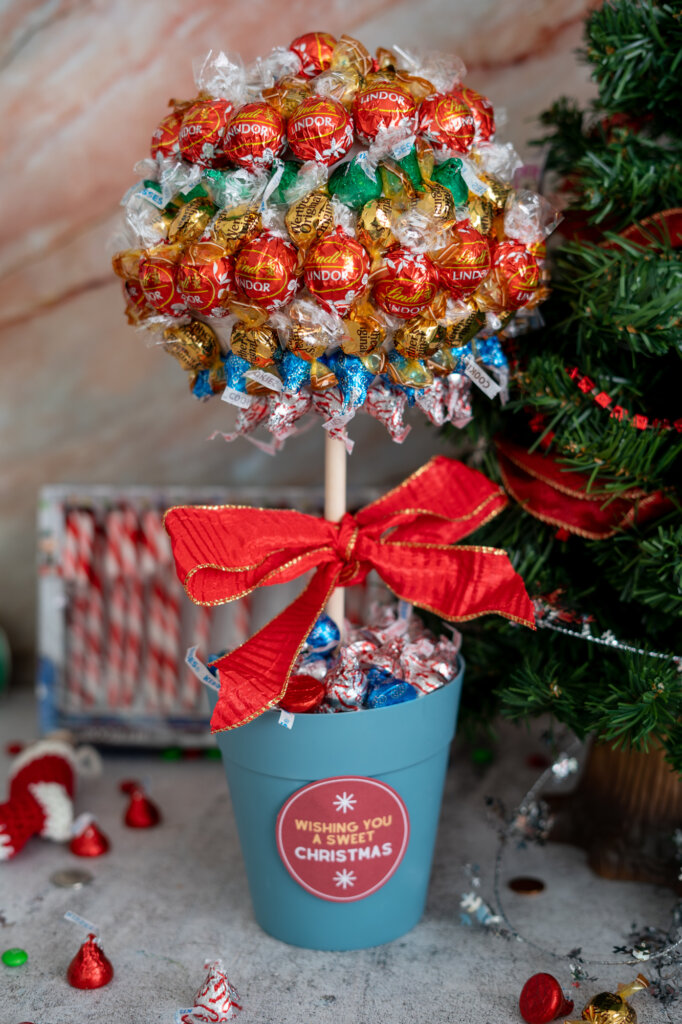
By now, your Christmas Chocolate Topiary should be pretty much done, but what really brings this DIY gift alive is the finishing touches!
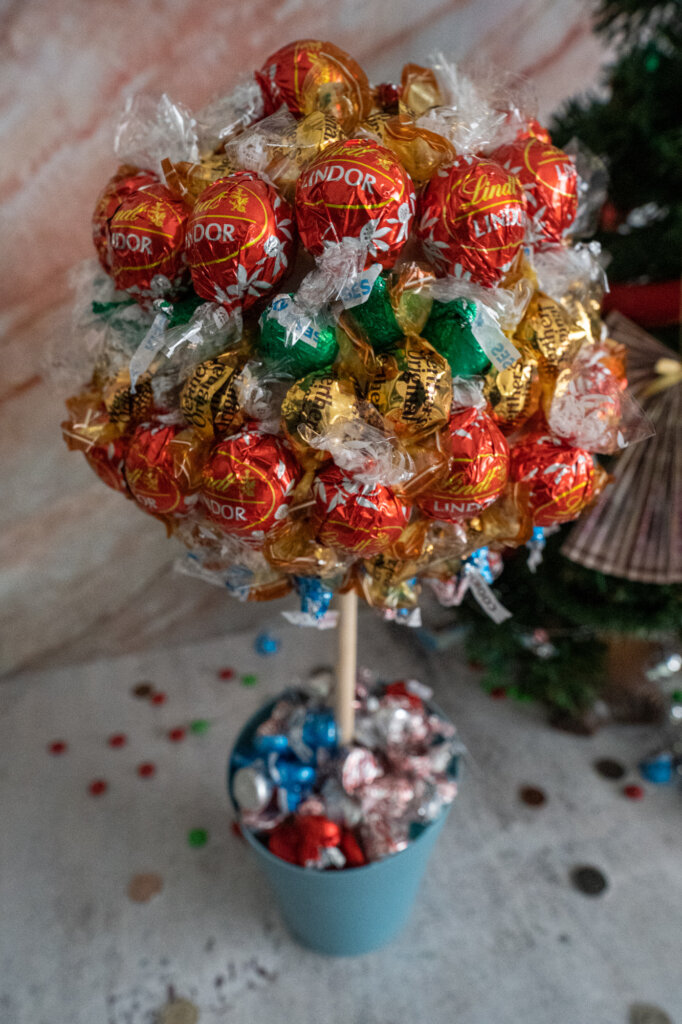
We added a red ribbon to the dowel and tied it into a pretty bow, and stuck on a cute punny note.
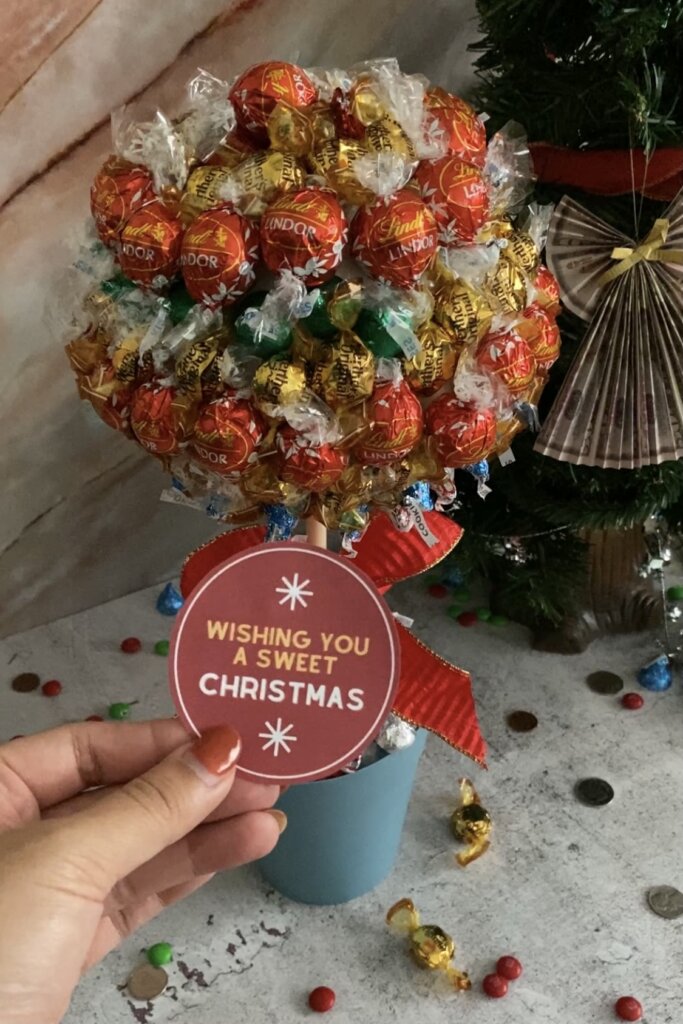
And voilà – all done! Step back and admire your gorgeous creation.
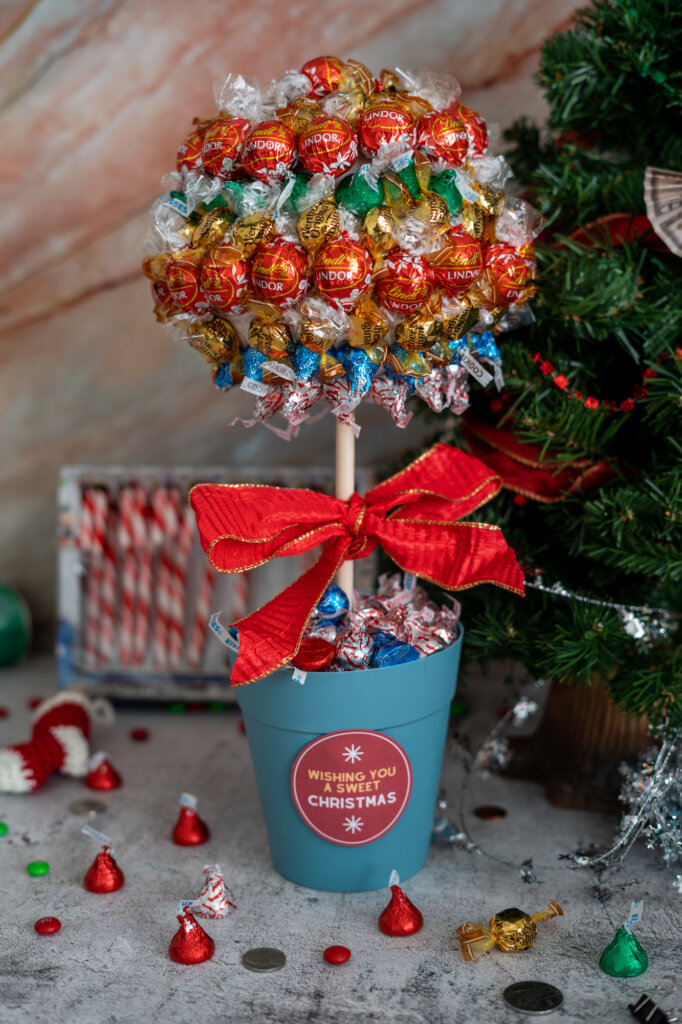
We Hope You Enjoyed This Candy & Chocolate Topiary Tutorial!
Let us know in the comments if you have any questions, or send show us a photo of your creation!