*FYI - this post may contain affiliate links, which means we earn a commission at no extra cost to you if you purchase from them. Also, as an Amazon Associate I earn from qualifying purchases. Check out our Privacy Policy and Disclosure. for more info.
Christmas Candy Trees are an adorably festive gift idea if you’re looking for unique ways to give candy as a gift.
Best of all, it’s a project that takes only a few minutes, and delivers some stunning results:

In this Christmas Candy Tree tutorial, we’ll be showing you step by step how to make this ultra sweet and easy gift, which we’re sure will be a hit with all the sweet tooths on your list this year.
We hope you find it helpful!
Pin for later:

Materials for Your Christmas Candy Tree
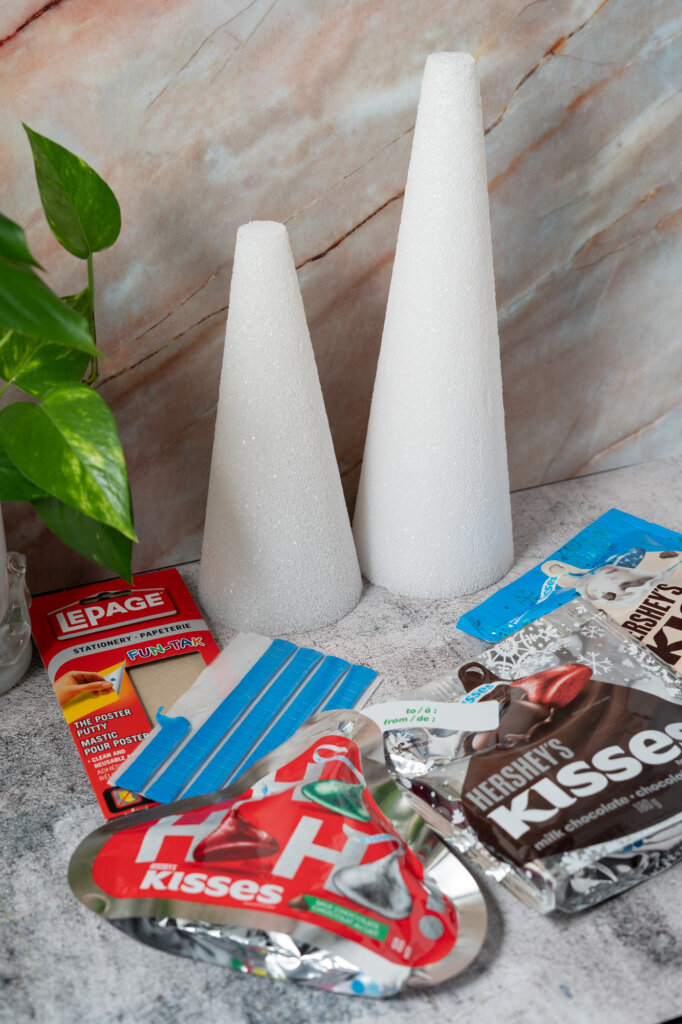
For this easy DIY Christmas gift, all you need is:
- A styrofoam cone
- Mini candy bars and candies (e.g. Kisses)
- Scrapbook paper
- Sticky tack (or hot glue)*
- Tape
- OPTIONAL: Punny Gift Tags (Here are printable ones we made)
*The reason we use sticky tac instead of hot glue is because the candy can be removed a lot more easily, plus there’s zero chance it will melt the candy at all (which can be a potential risk with hot glue).
If you don’t have sticky tac or prefer for your creation to be 100% secure, with no chance of any bars potentially falling off mid-transport, then use hot glue instead.
How to Make a Christmas Candy Tree: Step by Step
Have all your materials gathered? Now let’s get to work…
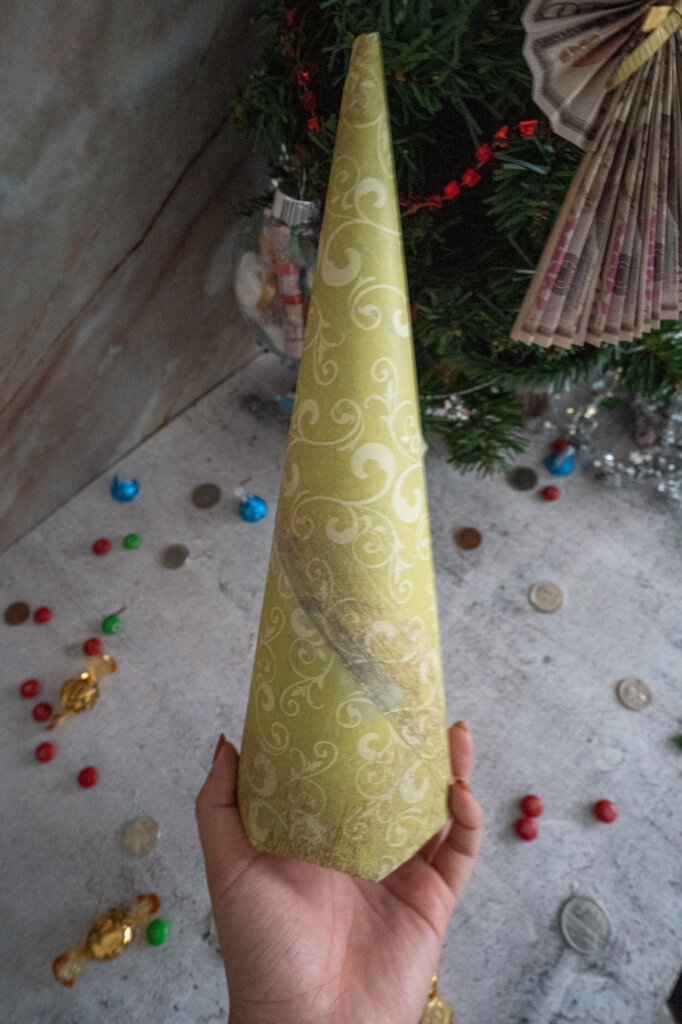
Step One: Cover Your Styrofoam Cone
If you are using hot glue, this is an optional step, but a must if you plan to use sticky tac.
Sticky tac doesn’t stick well to styrofoam, so covering your cone with scrapbook paper (we used this pretty patterned one) is crucial to ensuring the sticky tac actually works well.
To cover your cone, simply wrap your scrapbook paper around the cone, secure it with tape, then trim off/tape down the excess.
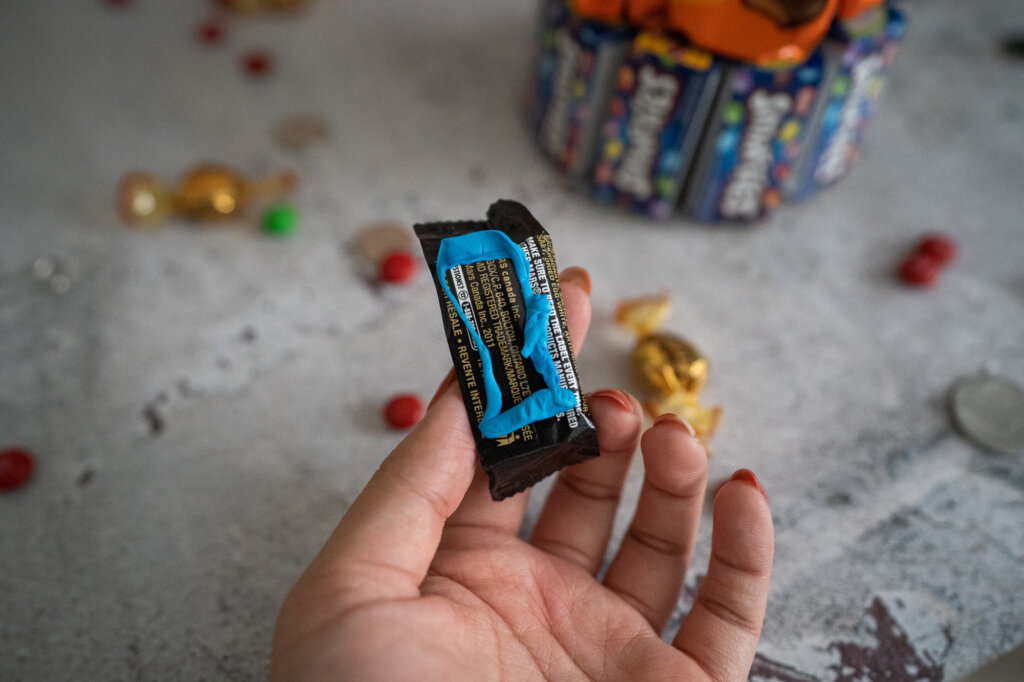
Step Two: Stick on Your Candy
Now that your base is done, it’s time to add on your candy bars!
You can either use sticky tac or hot glue for this. Whichever you choose, simply add some of your chosen adhesive on the back of your candy bar and (starting from the bottom) create a row that goes around.
Keep adding your candy bars row by row until the entire tree is covered…

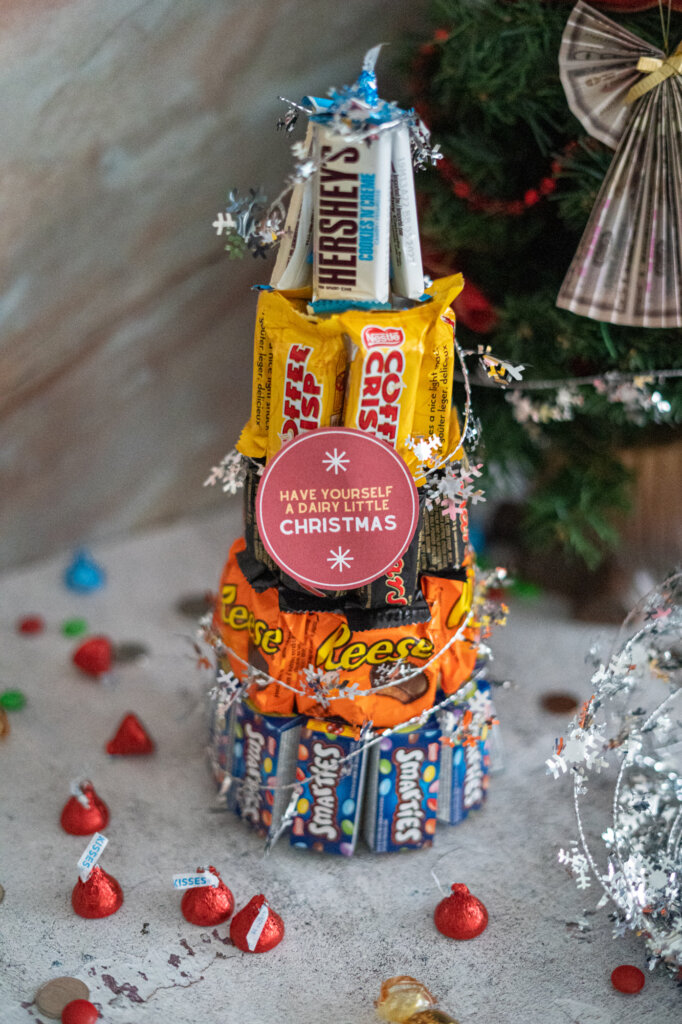
Step Three: Add the Finishing Touches
Once you’ve built up your Christmas candy tree to the top level, all that’s left to do is add some finishing touches.
For us, we stuck a Hershey’s Kiss on the top to give the tree a pointed top.
We also added a punny note, and wrapped some festive silver tinsel around it to give it an extra Christmassy look.
After you add those finishing touches, you’re all done!
We Hope You Enjoyed This Christmas Candy Tree Tutorial!
Let us know in the comments if you have any questions, or send show us a photo of your creation!