*FYI - this post may contain affiliate links, which means we earn a commission at no extra cost to you if you purchase from them. Also, as an Amazon Associate I earn from qualifying purchases. Check out our Privacy Policy and Disclosure. for more info.
Christmas Money Trees are an adorably festive gift idea if you’re looking for unique ways to give cash as a gift.
Best of all, it’s a project that takes only a few minutes, and delivers some stunning results:

In this Christmas Money Tree tutorial, we’ll be showing you step by step how to make this ultra beautiful and easy gift, which we’re sure will be a hit with all the loved ones on your list this year.
We hope you find it helpful!
Pin for later:

Materials for Your Christmas Money Tree
For this easy DIY cash-themed Christmas gift, all you need is:
- A styrofoam cone
- Dollar bills
- Curling ribbon
- Greening pins (like these)
- OPTIONAL: Punny Gift Tags (Here are printable ones we made)
- OPTIONAL: Tinsel

How to Make a Christmas Money Tree: Step by Step
Have all your materials gathered? Now let’s get to work…
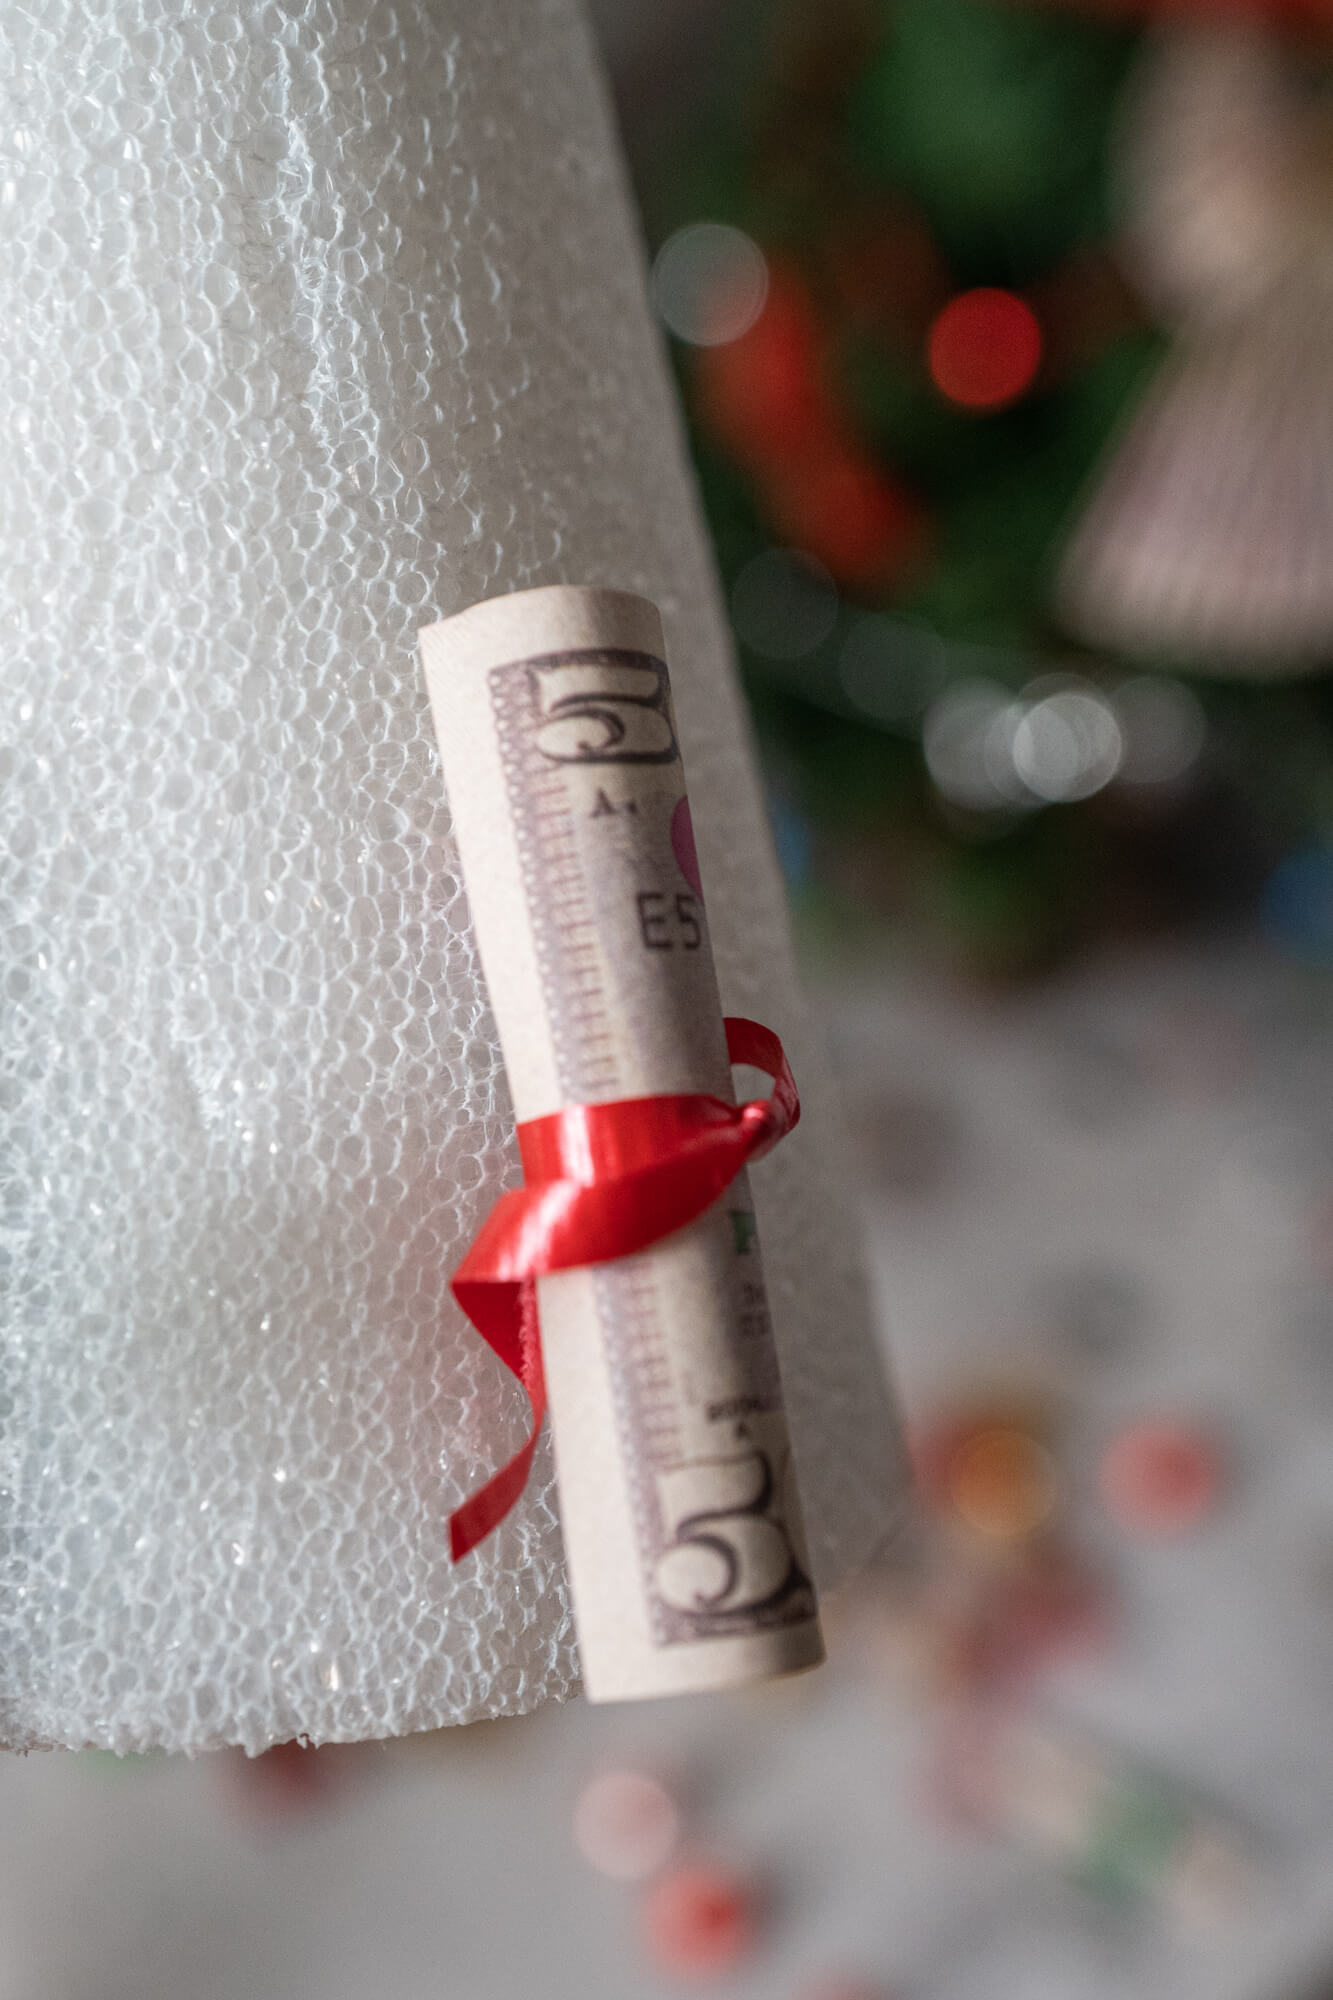
Step One: Roll Up Your Bills
We have to start by turning all our dollar bills into little mini cash scrolls. Cute, right?!
Start by laying your bill on a flat surface like a table, and then rolling forward.

Once you get to the end, tie a bit of curling ribbon around it to hold the scroll shape in place.

Then curl the ends, and repeat for each of your bills!
NOTE: We want to use Christmassy colors for this project, so be sure to tie your cash scrolls up with a variety of curling ribbons in red, green, and gold. This will add a lot of depth to your final product.

Step Two: Attach Your Cash to the Cone
With all your bills wrapped up into cute little scrolls, it’s time to attach them to the cone.
We can easily do this by using a small greening pin. Simply wrap your greening pin around the ribbon of your cash scroll, like so:

Then (starting at the bottom) push the pin through to the inside so that you can no longer see it. Your scroll should now be firmly fixed onto the cone.
Repeat this process, going row by row until you get to the top and the entire cone is covered with your cash scrolls.

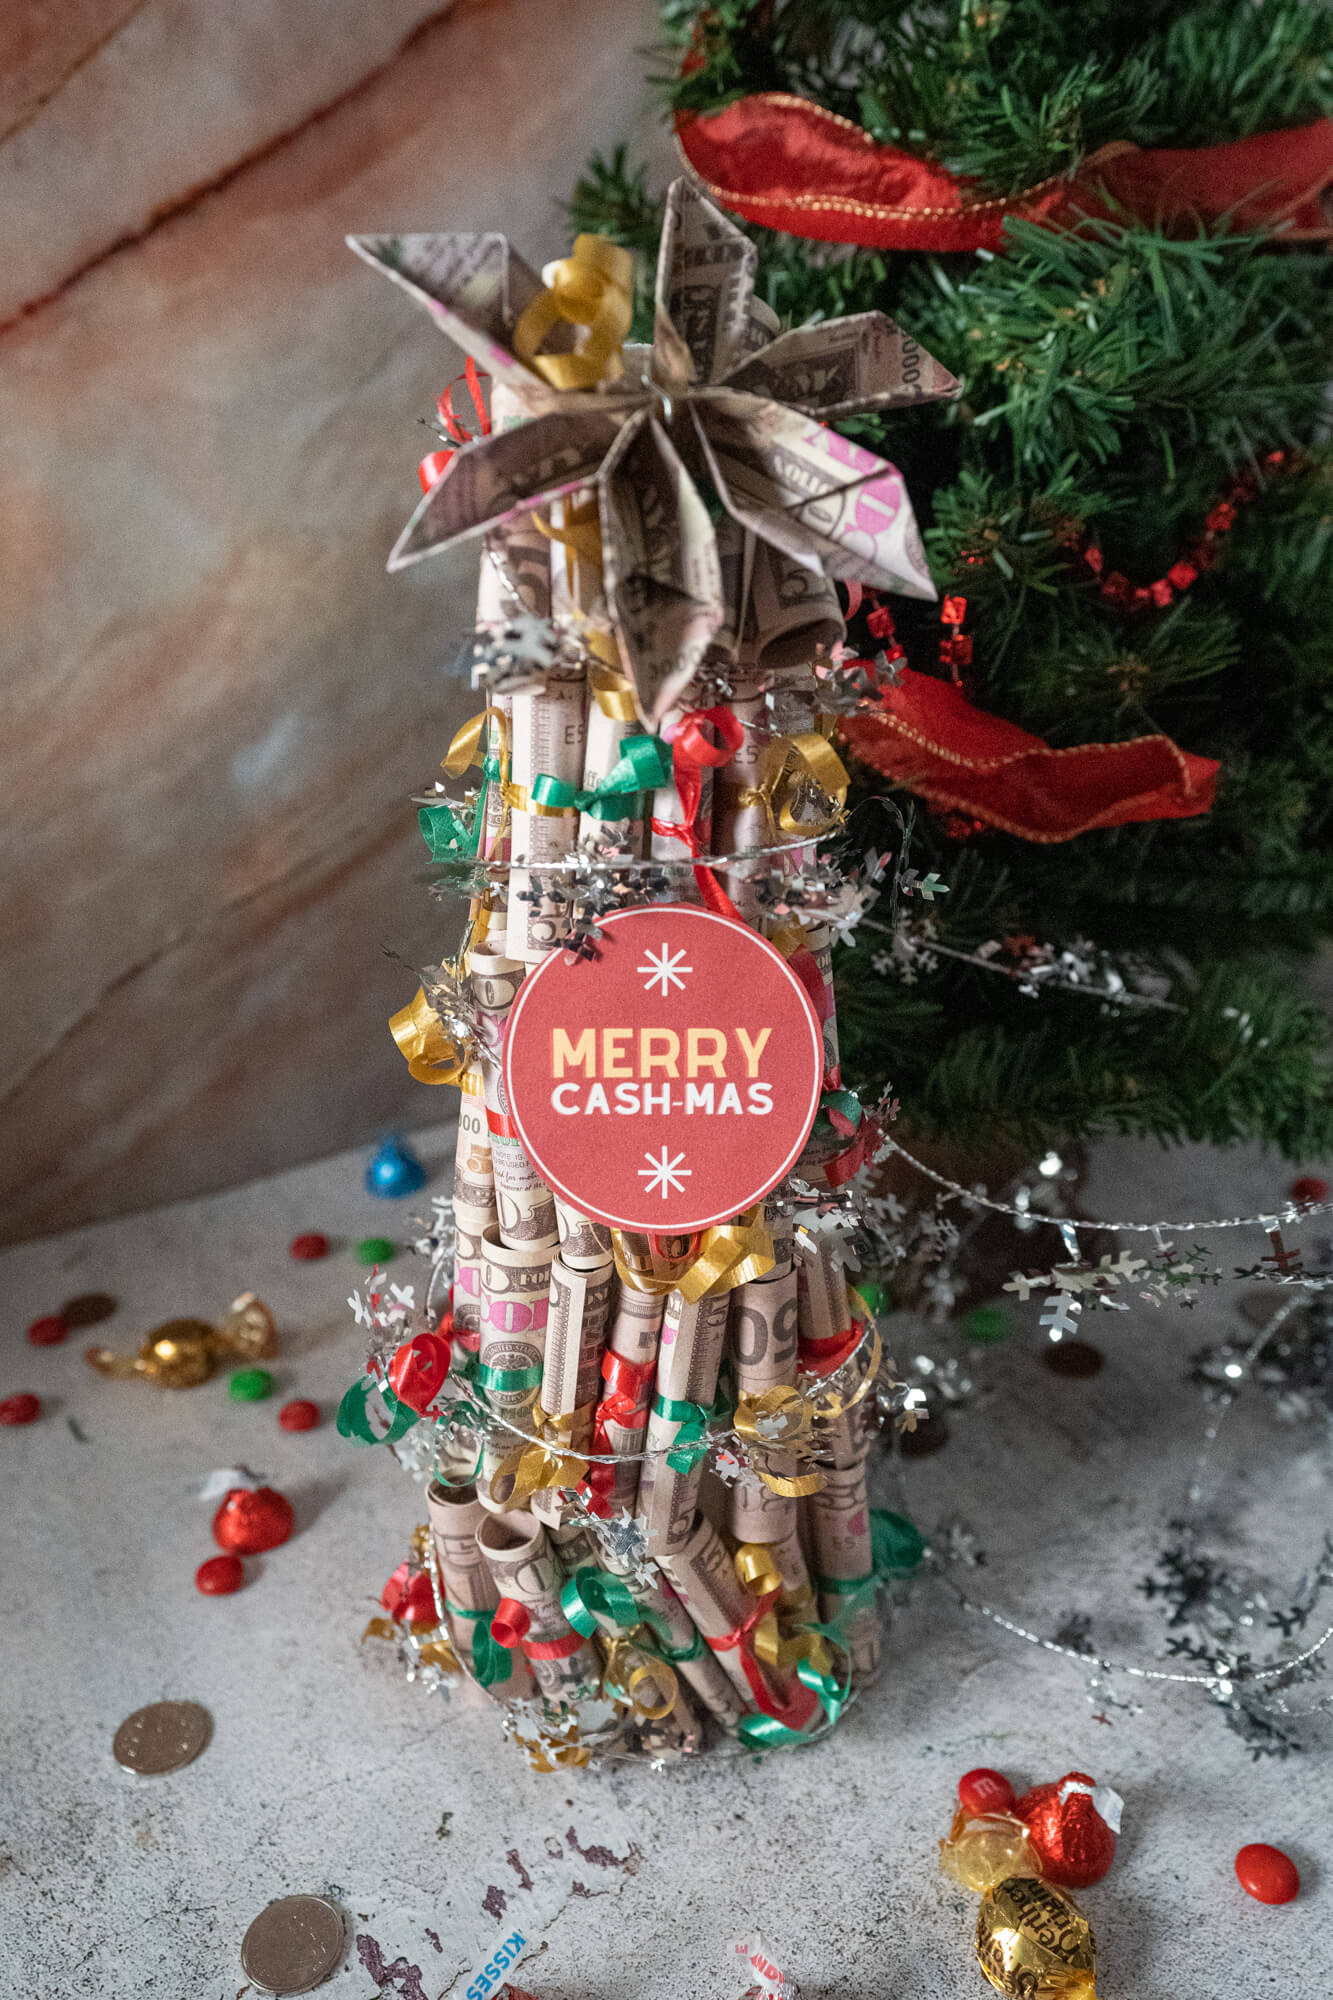
Step Three: Add the Finishing Touches
Once you’ve filled your Christmas cash tree and there’s no more gaps, all that’s left to do is add some finishing touches.
For us, we added a pretty cash flower on top as a tree-topper (we basically followed this tutorial, except using three bills for extra volume).
We also added a punny note (again, you can download ours for free here), and wrapped some festive silver tinsel around it to give it an extra Christmassy look.
After you add those finishing touches, you’re all done!
We Hope You Enjoyed This Christmas Money Tree Tutorial!
Let us know in the comments if you have any questions, or send show us a photo of your creation!